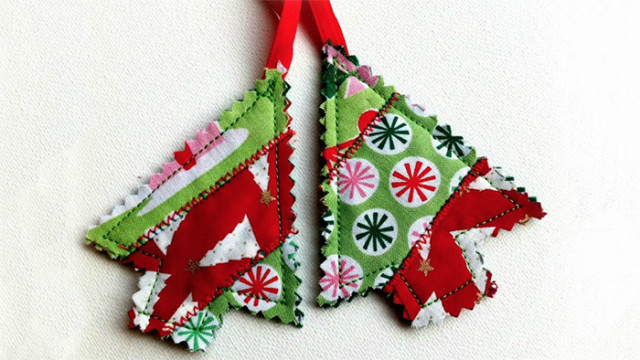
What’s a group of holiday projects without an ornament? These adorable quilted tree ornaments can be made in no time at all! You can have a whole forest of them before you know it!
These ornaments are an easy way to clean out the scrap basket and create an easy Christmas gift. These mini ornaments are perfect for hanging on the tree or decorating gifts and presents! Draw your own pattern so you can determine the size of your ornaments, and you’ll have enough to decorate your holiday home in no time!
Materials:
- Free-handed tree pattern
- Thread
- Woven Fabric Scraps
- Felt Square
- 10” Ribbon
- Pinking Sheers
Tools:
- Sewing Machine
Steps:
- Using the felt square as the backer, place your first scrap print side up. Position your second scrap print side down. The two scraps will be right sides together.
- Straight stitch strips of fabric in place. Turn the top layer of fabric over and finger press flat. Repeat until you have a large enough patchwork for your desired shape.
- Add decorative stitching in contrasting thread.
- Trace and cut out your shape. I used pinking sheers.
- Fold ribbon in half and insert at the top edge between the backer felt and scrap layers.
-
Straight stitch all around to keep the ribbon and fabric in place.
- Reduce or enlarge tree outline as desired. Ornament pictured is approximately 4” tall.
This quilted tree ornament project was originally found on the Baby Lock website. You can view the original post here. Project created by Heather Valentine for Baby Lock.